Tie summer together with friendship bracelets
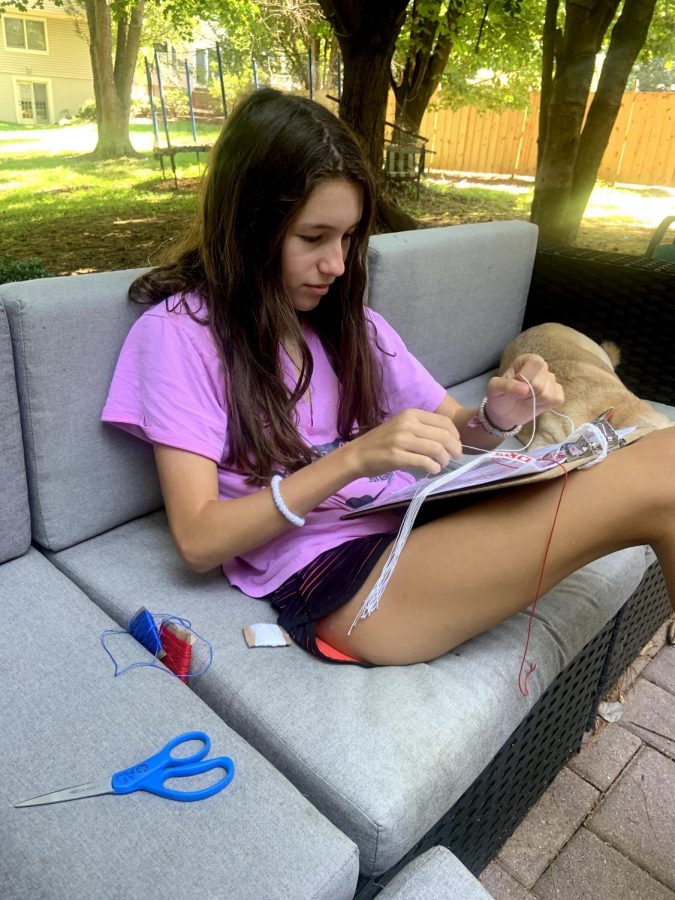
Sophomore Dylan Cohen ties knots on bracelet that spells ‘2EN1ORS’.
If you have ever experienced summer as a kid, you might be familiar with the handmade, knotted bracelets that people call friendship bracelets, or, string. These bracelets can be made from an infinite variety of patterns, strings, colors, etc. and the style and technique may be different depending on the person making a bracelet. If you have never heard of these bracelets before and want to learn, how do you get started? Which patterns are best to make first? As someone who has been making bracelets for 11 years, I have an answer or two.
- Start small
Cool and complex patterns look enticing, but are not beginner friendly. Before you embark on your bracelet journey, make sure that you know all of the knots. There are four types of knots: forward, backward, forward-backward, and backward-forward. The combination of these knots will vary depending on the pattern and personal preference, but it is important that you know how to do each one. A simple pattern to learn these knots would be a chevron, also known as a V bracelet.
- Practice makes perfect
I used to not make bracelets consistently, and when I started making them again I would be rusty. Now I make bracelets 365 days a year (366 on leap year), and by no means do you need to do this, but brushing up on your skills every once in a while is never a bad thing. If you are making a bracelet for the first time ever or the first time in a long time, do not expect to be an expert. It is OK to make mistakes, you will learn from them.
- Watch videos
Whatever platform you use, watching video tutorials is one of the best ways to hone in on both the fine details and overall bracelet. Watching a video and not getting the hang of it immediately can be frustrating, but once you see the improvement, you will know that watching tutorials pays off. One of my favorite creators is Masha Knots on YouTube. Masha has tutorials on everything from how to tie specific knots, to knowing how to read patterns, to making loops, to keychains and everything in between.
- Secure your bracelets
This seems as if it is one of those background steps to making a bracelet, but it is every bit as important as how to tie a knot. You may see people securing their bracelets by tying them to a water bottle or taping them onto their legs. I prefer securing my bracelets by using a clipboard because I can clip a printed pattern onto it at the same time, and the bracelets stay much more secure than other methods. This is what works best for me, but whatever you are most comfortable with is what you should do.
- Have fun with it
Although there are complicated steps that go along with friendship bracelet making, it should be a fun experience. Find patterns and colors that you enjoy working with, and maybe even make matching bracelets with a friend. They’re called friendship bracelets, after all.
Your donation will support the student journalists of Thomas S. Wootton High School. Your contribution will allow us to purchase equipment and cover our annual website hosting costs.
Dylan is a 2023 graduate.